DIY Cement Easter Eggs Tutorial
With Easter just around the corner, we’re more than thrilled to share this lovely DIY project and tutorial from Shannon Von Eschen Photography with you. These beautiful, cement Easter eggs are the perfect addition to any home, plus we adore the fact that they can just as easily be used to add a whimsical touch to a sweet, Easter-inspired wedding!
Supplies:
1 lb box of Rockite Expansion Cement (makes approx 6-8 eggs depending on their size)
Plastic container
Plastic Spoons or Wooden Sticks to use as mixers
6-8 drained Eggs
Craft knife/Razor blade
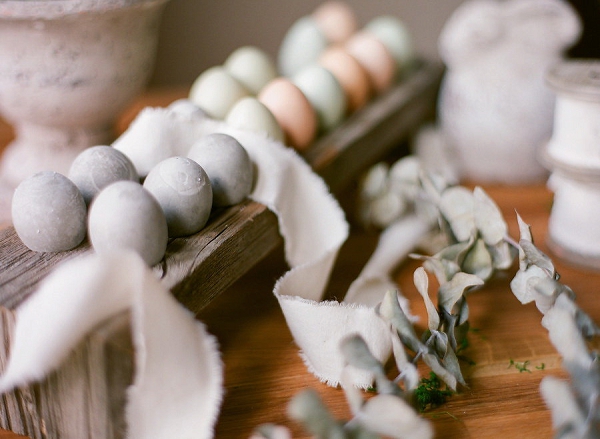
Egg crate or Wooden Egg holder

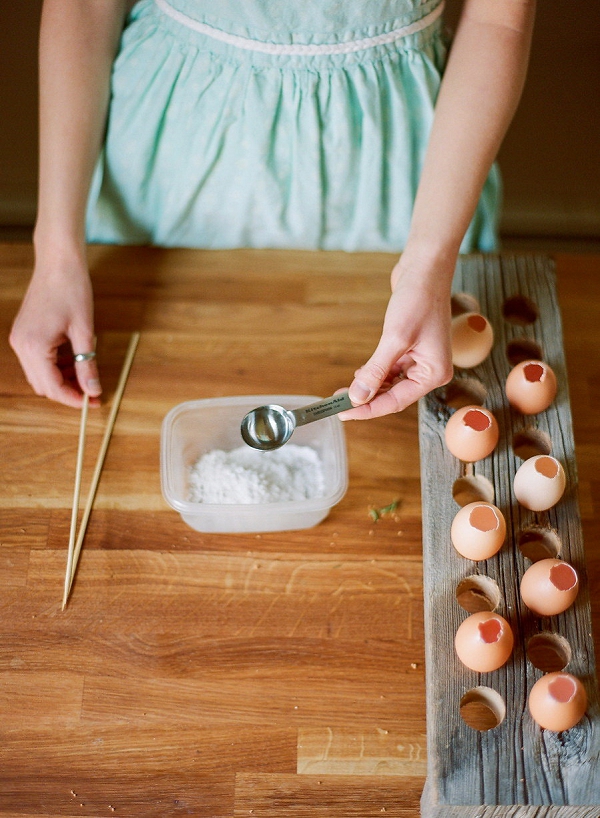
Drain all your eggs by poking a small hole into the top of the egg. Peel away a small opening (almost the size of a dime), to make it easier to pour the cement into. We recommend you save the yolks and egg whites in the fridge so you can make a breakfast quiche or scramble the next morning.
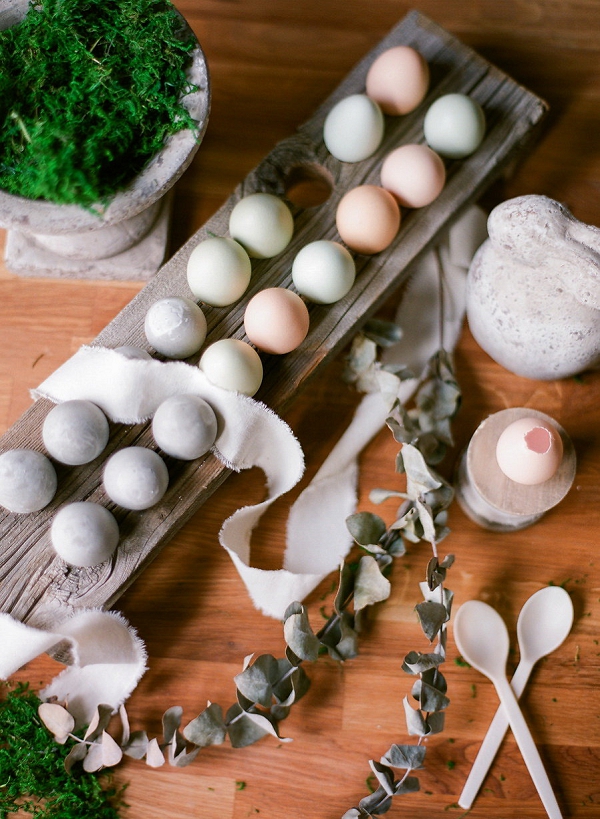
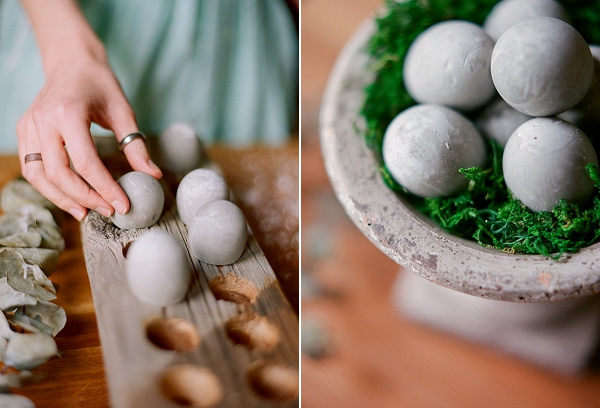
Prop up your eggs inside an egg crate (or use the same fancy one we did!) with the openings facing up.

Pour approximately 1/4 cup (enough for 1 egg) of the Rockite Cement into your plastic container.

Add 1 Tbs of water. Begin mixing your cement, adding 1 Tbs of water at a time until you achieve a honey-like consistency. (I believe it only took 2 Tbs of water total for this 1/4 cup).
Within ten minutes of mixing the cement, pour the mixture very slowly, into the openings of your eggs. Stop one or two drops before the top, or a 1/2″ below the top, to create a flat bottom so your eggs can stand up if you wish. Set outside, or in a well ventilated area, for 1 hour to dry.


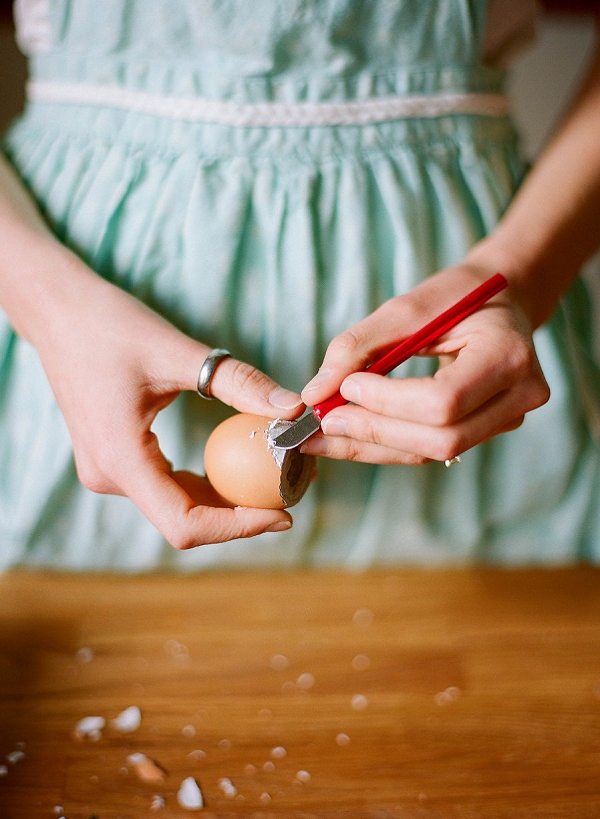
After 1 hour, use your crafting knife (or razor blade) to carefully peel off the shells. This might take some time and patience, though peeling them under running water helps.

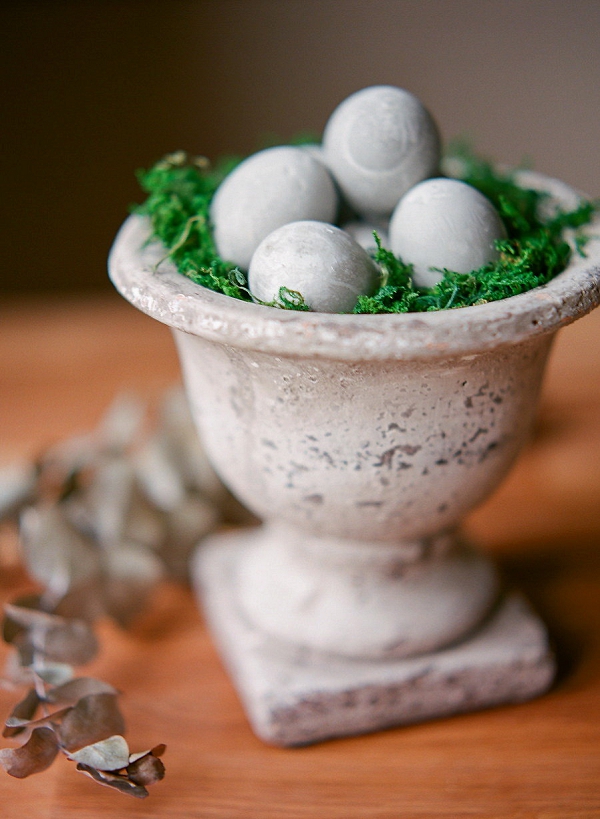
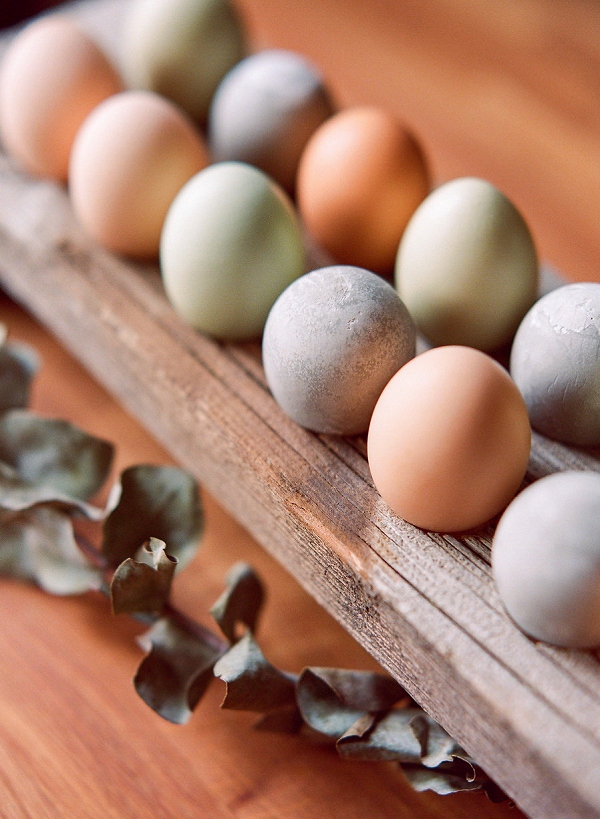
Once the eggs are dry from the extra water, display them in bowls, on your table, or in an egg holder. You did it!


Too darling! Many thanks to Shannon for inspiring us with her effortless, fun and super easy-to-follow project. Do have a wonderful Easter!
Photography and Styling: Shannon Von Eschen Photography | Film Processing: Photo Impact Imaging | Wooden Egg Crates: Gray’s Wooden Kitchen